A fluffy gluten free white chocolate cake perfect for any special occasion... like surviving a Wednesday.
I've been wanting to create the perfect basic cake recipe for a while. I wanted it to be a cake that was light, fluffy and moist but also was made with less sugar and oil than your regular cake. After many trials and many failures... it's finally here. The perfect healthy vanilla cake recipe for birthdays, holidays, Valentine's day, or surviving a long week (because if that's not a call for cake I don't know what is).
The long awaited cake is finally here! If you've been around here for a while you'll know that cake been a recipe my blog has been lacking. If you search my blog you can see I've made brownies, blondies, cookies, mug cakes and I've loved making all of them. However for some reason the thought of baking a whole cake has always scared me. There's just so many things that can go wrong with cake. But nevertheless I persisted and I'm so glad I did.
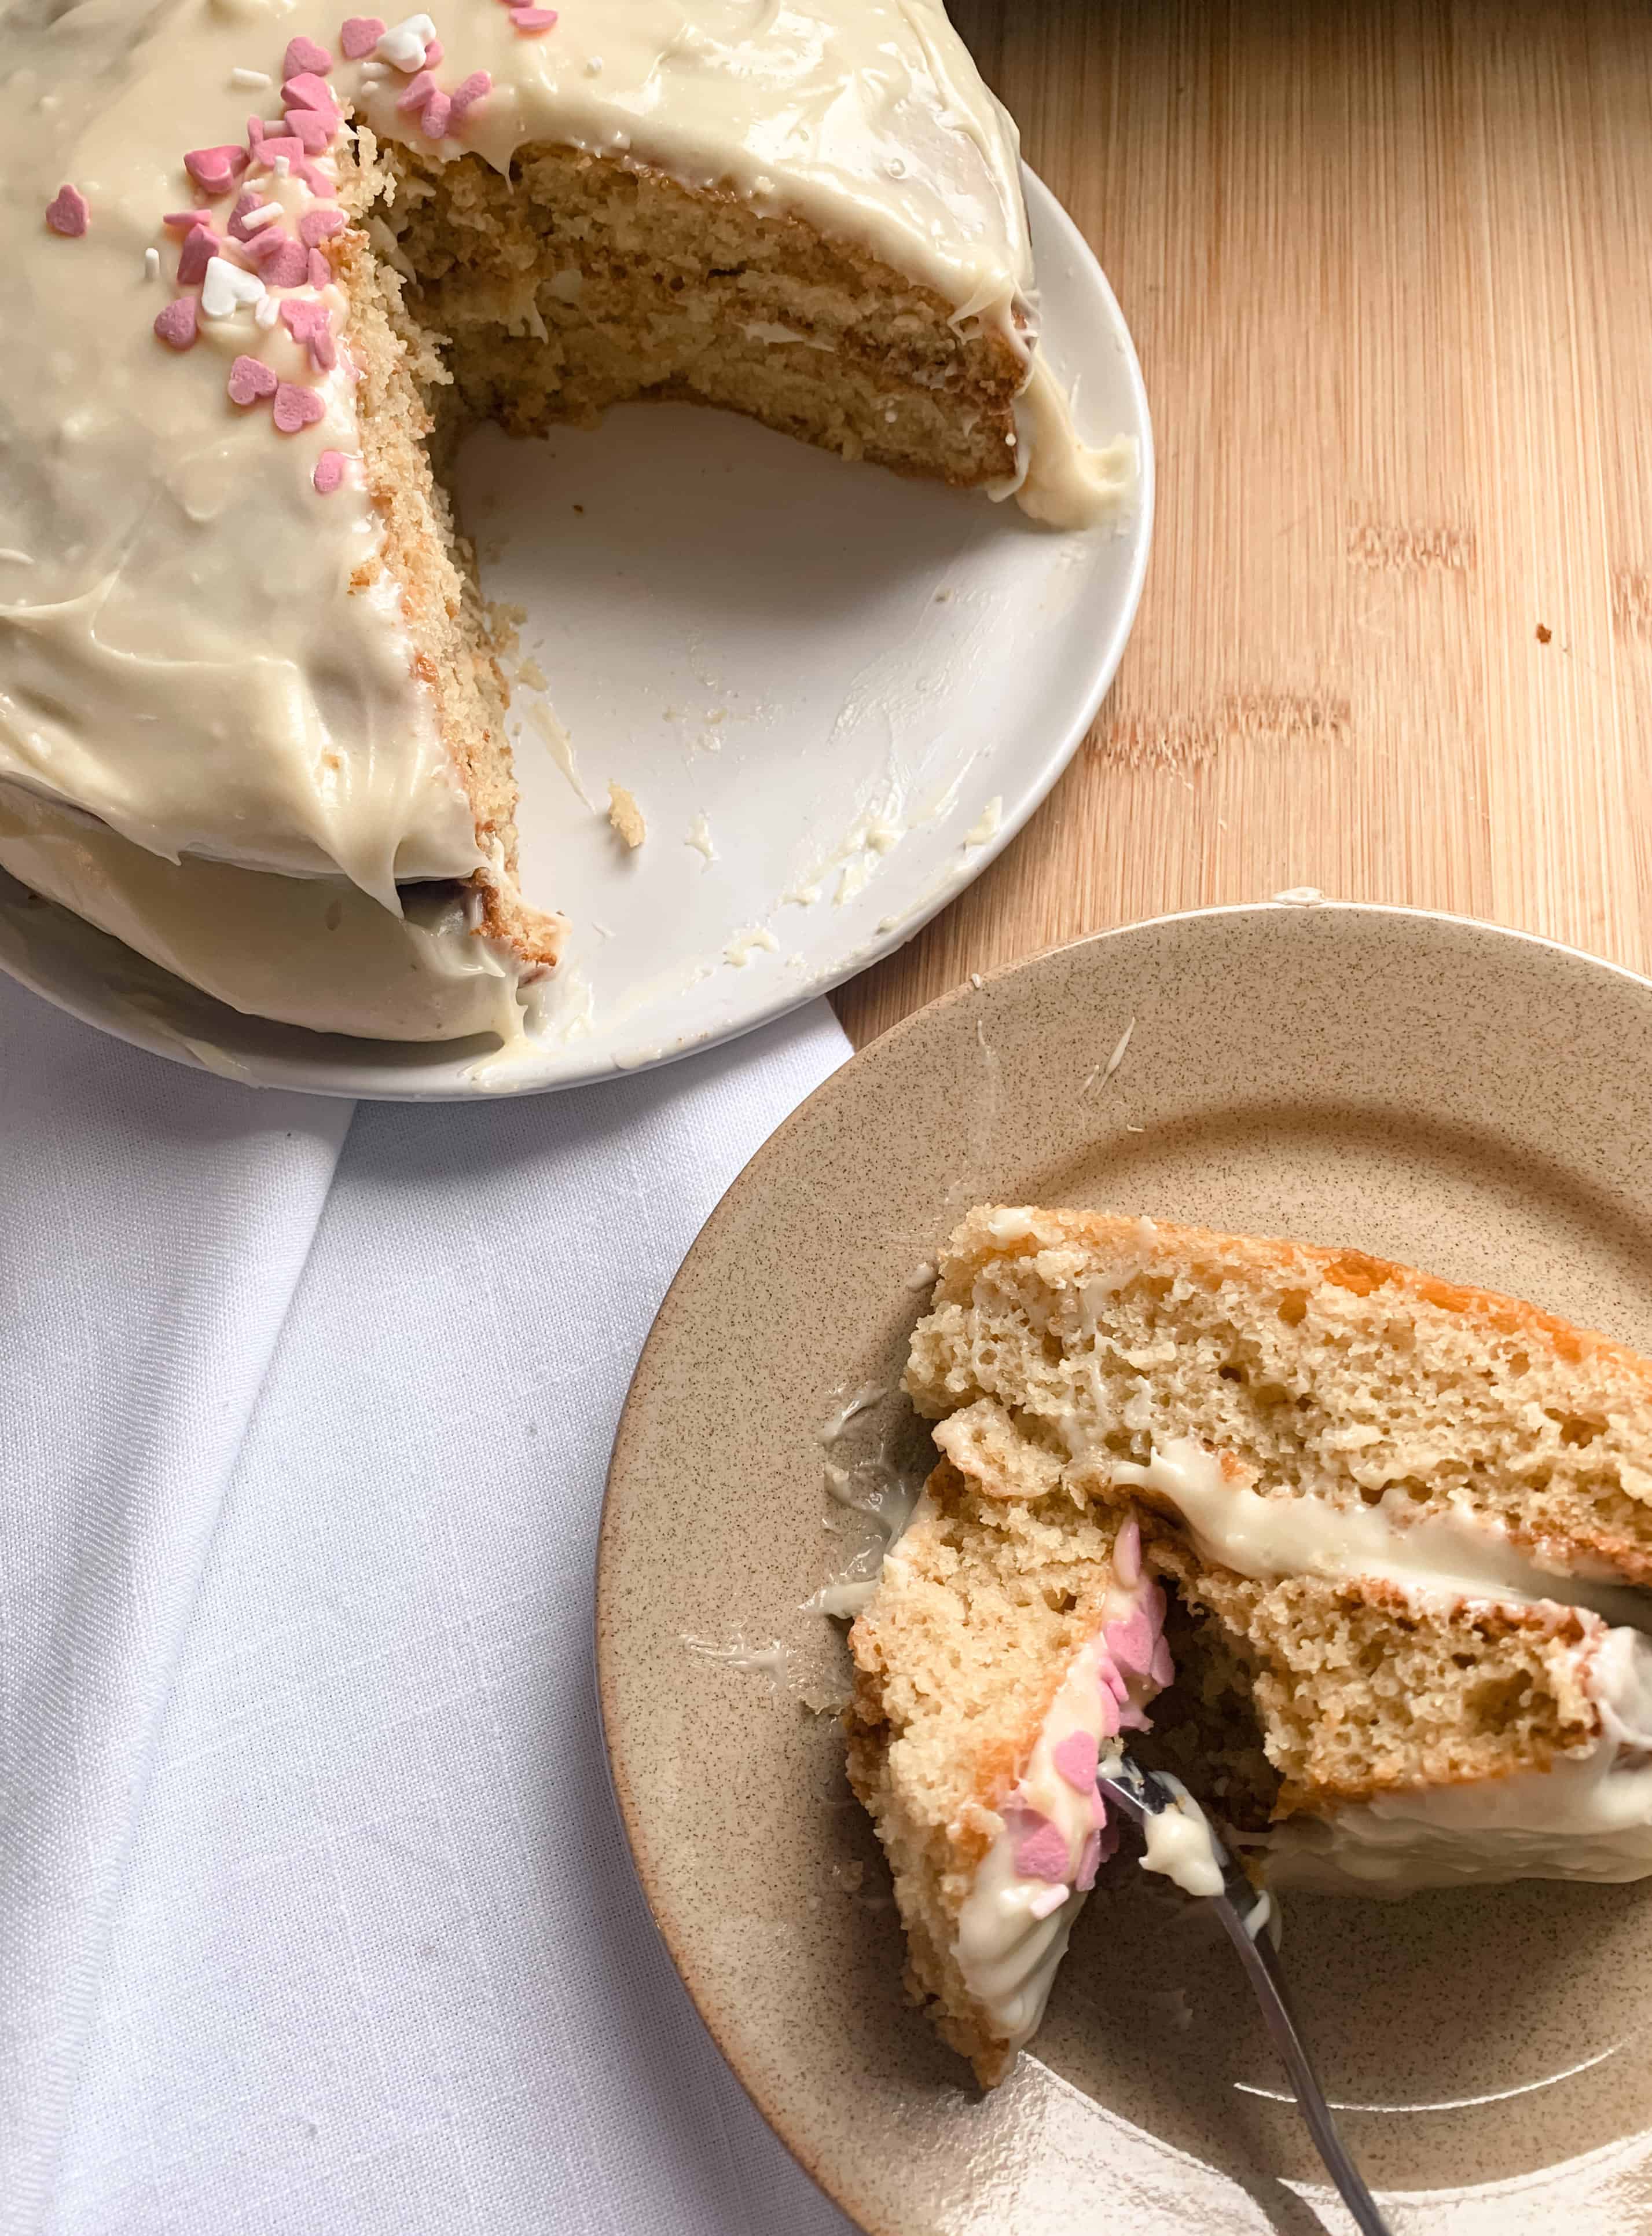
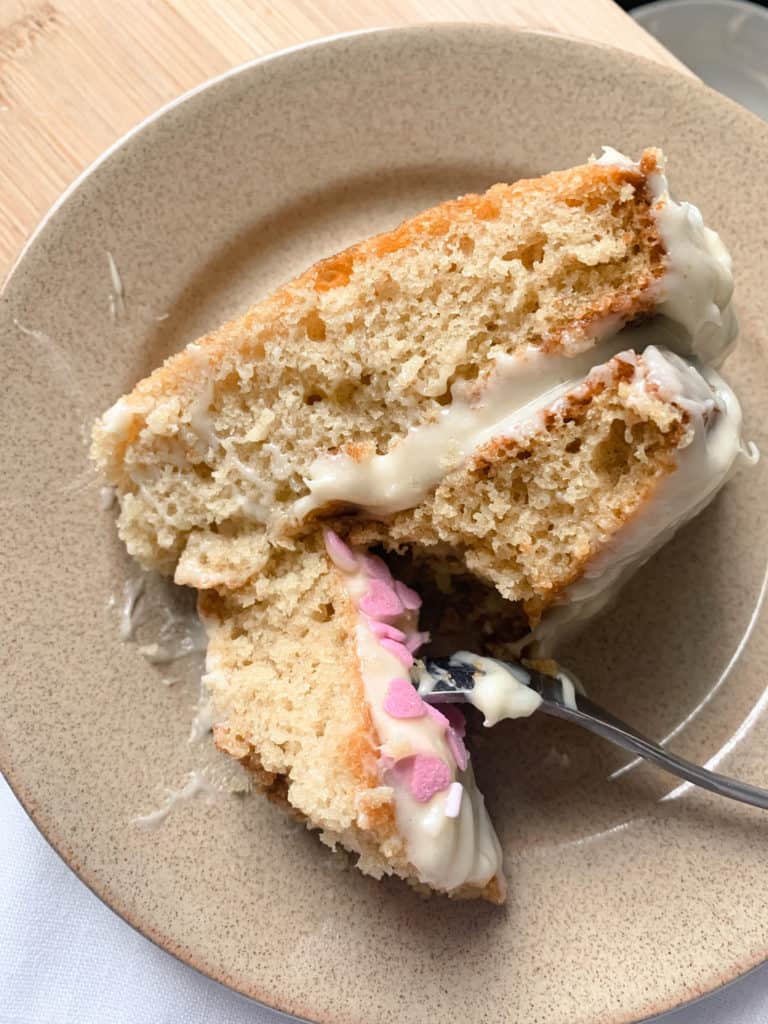
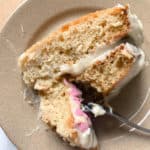
This healthy vanilla sponge cake recipe is perfect for celebrating! It has ½ the sugar a normal cake recipe has, and ⅓ of the oil. It's also the SO moist, and so delicious that no one will ever be able to tell it's healthy. I made this one for Brandon's last birthday and it was such a HIT. Everyone wanted the recipe and no one believed me when I told them it had less than a cup of sugar in it! This cake has just the perfect amount of sweetness. Combined with the healthy vanilla frosting (or health-IER I should say) it's SO good! It's sure to be the most highly request cake in your house. Don't believe me? Try it for yourself!
PS. try baking this batter as cupcake for the best healthy vanilla cupcakes! Just pour the batter in 24 lined muffin cavities and bake for about 15-20 minutes or until the tops are golden brown!
What Ingredient's do I need for this gluten free white chocolate cake?
Cornstarch- Mixing your flour with a little cornstarch is the secret to getting this cake fluffy! It helps turn your regular all-purpose flour into a light and fluffy cake flour! Note that if you do have cake-flour on hand you can sub the all-purpose flour and cornstarch.
All-Purpose Flour- To make this gluten free white chocolate cake I like to use gluten free 1:1 baking flour (Bob's Red Mill has a great one!). If you are not gluten free all purpose flour also works perfectly!
Non-Dairy Buttermilk- See below for more details about what this is!
Coconut Oil- I love coconut oil in baking, it's not necessarily 'healthier' than butter BUT it gives such a yummy subtle coconut flavour that I love. If you aren't a coconut lover, you can replace this with an equal amount of butter!
Eggs- We use the whole egg in this recipe! This helps get that perfect cake consistency and bounce back we want!
White & Brown Sugar- Unlike most cakes, I decided to use a combination of both brown and white sugar. Why wouldn't I just use white sugar like a normal person? Because I like to be different. Kidding. The brown sugar adds a rich, caramel flavour that I LOVE in this cake.
Bakers White Chocolate- DO NOT use white chocolate chips. You've been warned. They will not melt and will likely just end up burnt in the process meaning you just wasted $5. Make sure you use bakers white chocolate like this one or any other white chocolate that you know for sure melts.
How to make Non-Dairy Buttermilk
What is non-dairy buttermilk and how can I make it? IT is insanely easy. All you need is two ingredients and 5-10 minutes. Essentially buttermilk is slightly acidic milk. It's a wonderful ingredient to add to baked goods like pancakes, cakes and biscuits but it isn't vegan. It's the secret ingredient to this gluten free white chocolate cake.
So to make vegan buttermilk all you need to do is mix 1 cup of non-dairy milk with 1 tablespoon acid (think apple cider vinegar, white vinegar, lemon juice). Whisk the two ingredients together in a small bowl until the milk begins to froth and bubbles form. Then set this little mixture together for 5-10 minutes and VOILA vegan buttermilk.
I always love seeing my recipes in action! If you make this gluten free white chocolate cake don't forget to tag my on Instagram- @nourishedbynic or a leave a comment below letting me know how they turned out!
📖 Recipe
Gluten Free White Chocolate Cake
Ingredients
Vanilla Cake
- 1 cup milk of choice (whisked with 1 tablespoon white vinegar)
- 1.5 cups gluten free 1:1 baking flour
- 1 tablespoon cornstarch
- ½ tsp baking soda
- 1 tsp baking powder
- ½ tsp salt
- 2 medium whole eggs
- 6 tablespoon coconut oil softened
- ⅓ cup white sugar
- ⅓ cup brown sugar
- 1.5 teaspoon vanilla extract
White Chocolate Icing
- ¾ cup low-fat cream cheese softened
- ¼ cup butter room temperature
- 3.5 ounces Bakers white chocolate melted
- 1 teaspoon vanilla extract
- 1.5 cups icing sugar
Instructions
- Preheat oven to 350°F and line the bottom of two 8-inch round cake pans with parchment paper (or spray with cooking spray).
- In a small bowl whisk together milk and vinegar until frothy and set aside for at least 10 minutes. NOTE: this will act as a "buttermilk" and helps bring a nice flavour to the cake.
- In a large bowl, combine flour, cornstarch, baking powder, baking soda and salt and whisk until well combined. Set aside.
- In a separate large bowl, whisk together eggs, coconut oil, and both sugars until smooth. Slowly stir in the "buttermilk" and vanilla. The mixture should be smooth and well combined. It's important your eggs are room temperature or they will cause the coconut oil to harden.
- Slowly add the dry ingredients to the wet ingredients and mix well with a rubber spatula until smooth.
- Divide batter evenly between pans and spread out with a spatula to smooth the tops. Bake for 22-28 minutes in two- 8-inch pans. The cakes are done when the top begins to turn golden brown and a toothpick or cake tester comes out clean. Allow the cake to cool completely before frosting or removing from the pans.
- To make frosting: to the bowl of an electric mixer add softened cream cheese, room temperature butter, melted white chocolate, vanilla and icing sugar. Whip together on high until a smooth icing begins to form. Note: the icing will be on the thicker/ heavier consistency.
- To ice your cake: Evenly spread ½ cup of icing on top of the first layer of cake. Place second layer on top and top with another ½ cup of icing. Distribute remaining icing around the sides of the cake. Note: you most likely will have icing leftover (it freezes great!).

Comments
No Comments