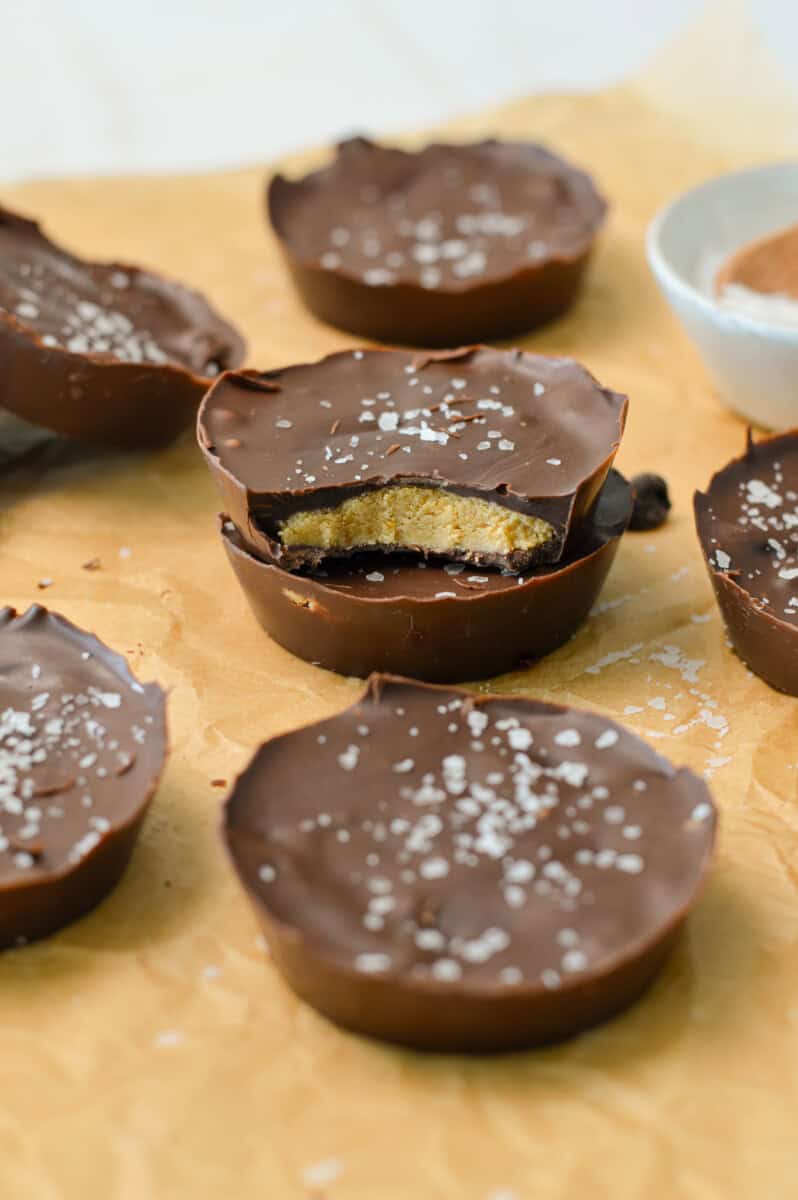
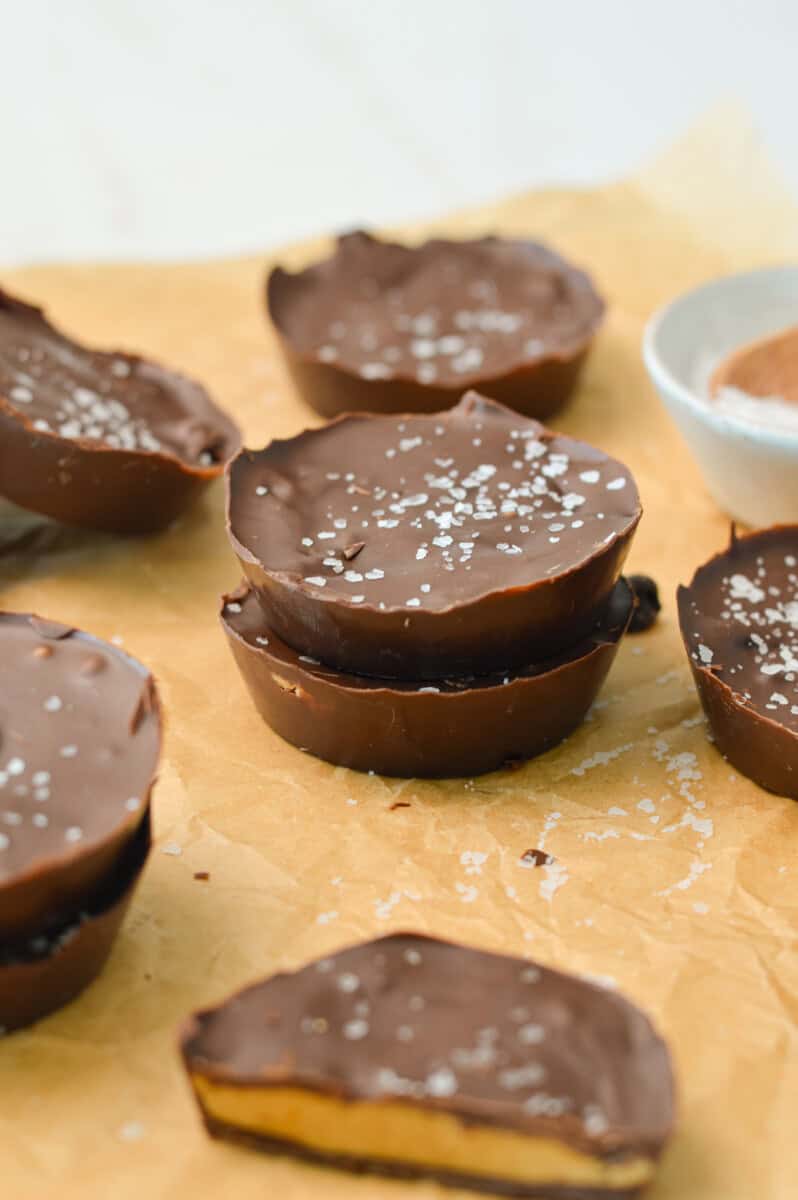
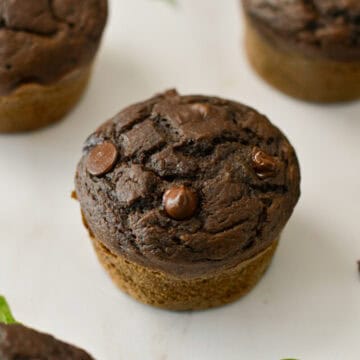
These Protein Peanut Butter Cups are the perfect midday treat. Rich chocolate with a creamy peanut butter center, they taste so good you won't even be able to tell these are packed with protein!
If you've been here for a while, you may have noticed that I am a firm believer that there is truly no better combination than chocolate and peanut butter. That's why I developed recipes like my Chocolate Peanut Butter Crunch Bars, my Chocolate Peanut Butter Frozen Yogurt Bites and my Chocolate Peanut Butter Rice Krispies Squares.
So when thinking about which recipe to add next to this chocolate peanut butter collection, I kept coming back to one of my favorite treats, Reese's peanut butter cups. They have been, and probably always will be, my favorite chocolate option, so I decided it was time to make them myself. Introducing: these "healthy" peanut butter cups!
Why This Recipe Is Dietitian Approved
- They are no bake peanut butter cups. Who doesn't love a no bake treat. With just a few simple ingredients and just under 30 minutes you will be snacking on these DELICIOUS peanut butter cups! PLUS you don't even need to turn on the oven!
- They are the perfect freezer treat. I love having a sweet treat on hand at all times for when I get a sweet craving. THESE high protein peanut butter cups are the perfect option! They freezer wonderfully and can be eaten straight out fo the freezer OR you can allow it to defrost for a few minutes before eating.
- They are a slightly more balanced treat. As a dietitian who is a firm believer in balance I truly believe there is nothing wrong with enjoying your favourite candy or chocolate every once in a while! However not only are these cheaper than store-bought, they also are a more balanced option! The extra protein in these helps balance out the sweetness of the chocolate to help manage blood sugar spikes.
Protein Peanut Butter Cups Recipe
Ingredients
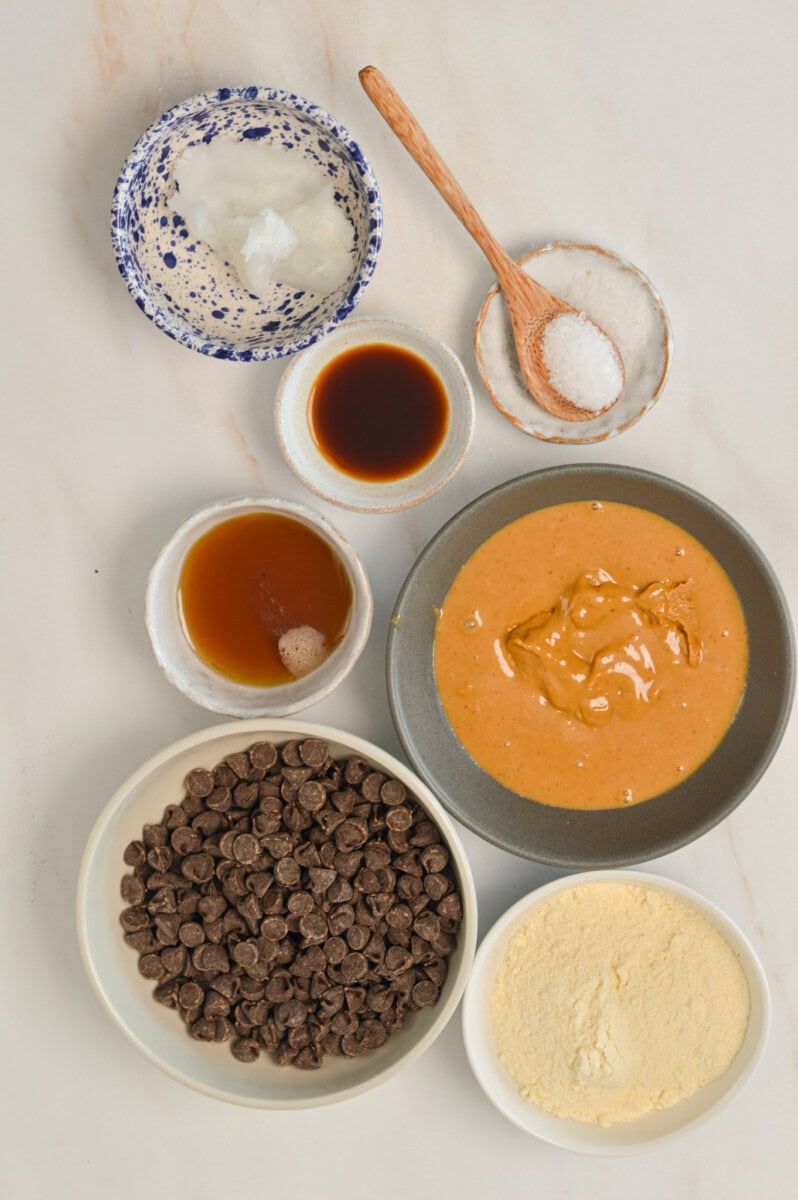
Peanut butter. You can't have healthy peanut butter cups without peanut butter! I typically use natural peanut butter (look for one with the only ingredients being peanuts and salt) however any peanut butter will work! I also love that it adds a source of healthy fats making these the perfect snack!
Protein powder. This helps give these protein peanut butter cups the protein aspect! I like using my favorite protein (I love the vanilla flavour in these!). If you don't have protein powder on hand you can substitute this for additional oat flour!
Maple syrup. For some natural sweetness! I have only ever used maple syrup for this recipe. If you do try to substitute with honey or any other liquid sweeter let me know how it goes in the comments! You can also use sugar free maple syrup like this one!
Vanilla extract. Every good peanut butter cup has that subtle hint of creamy vanilla flavour! Which is why vanilla extract is a MUST add in these homemade healthy peanut butter cups. As we aren't baking these, I always recommend using real vanilla extract for the best flavour however artificial vanilla extract will work as well!
Chocolate chips. The second most important ingredient in these no bake peanut butter cups! I personally love using semi sweet chocolate chips in these because they offer the perfect amount of rich chocolaty sweetness, however dark chocolate, milk chocolate or even bakers white chocolate would also work!
Coconut oil. To help melt the chocolate!
The complete ingredient list with measurements can be found in the recipe card below.
Instructions
- Line a 12-cavity muffin tin with muffin liners (I recommend silicone), or use a silicone muffin tray.
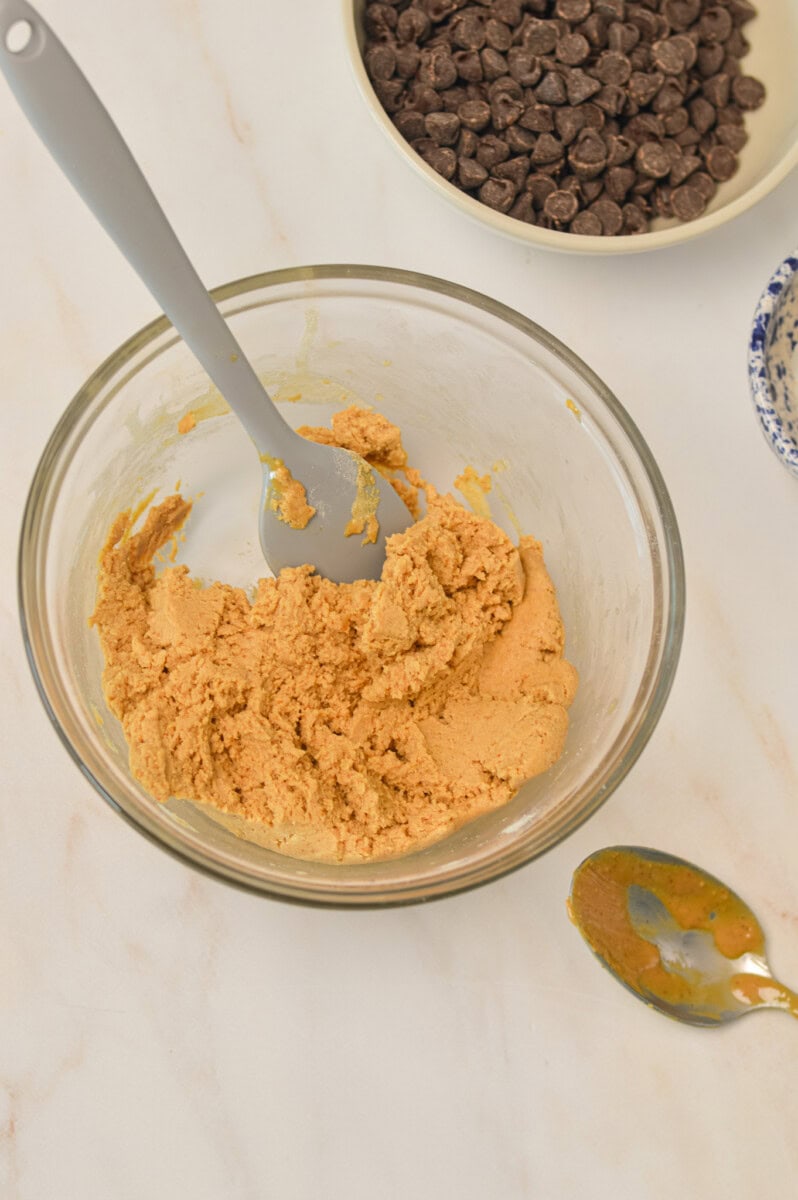
- In a large mixing bowl combine peanut butter, maple syrup, vanilla extract, coconut oil and protein powder and stir.
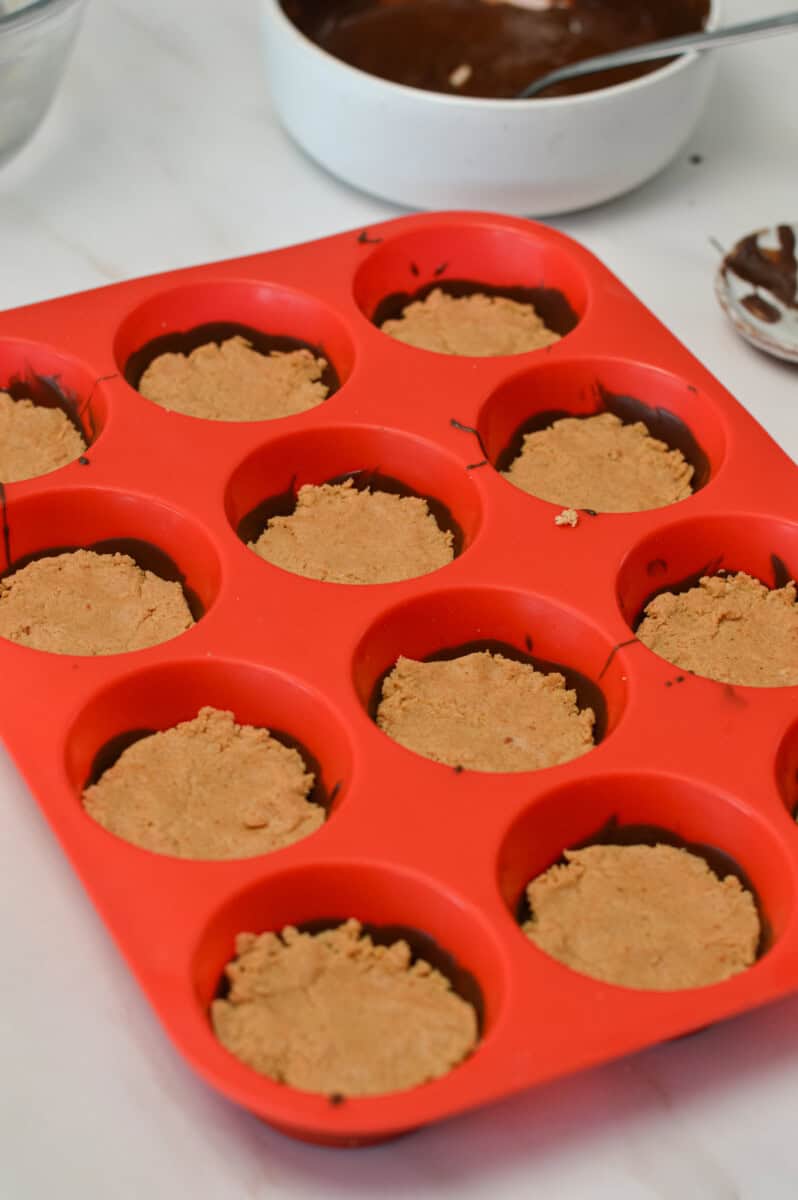
- Combine your chocolate chips and coconut oil. Microwave on high for 30 second increments, stirring well in between. Place 1 tablespoon of melted chocolate into each cavity of a muffin tin. Place the muffin tin in the freezer for 10 minutes to allow the chocolate to harden.
- Once the chocolate has set, roll your peanut butter dough into 12 bite sized balls and place one ball into the center of each chocolate cup. Gently press down to flatten the dough balls.
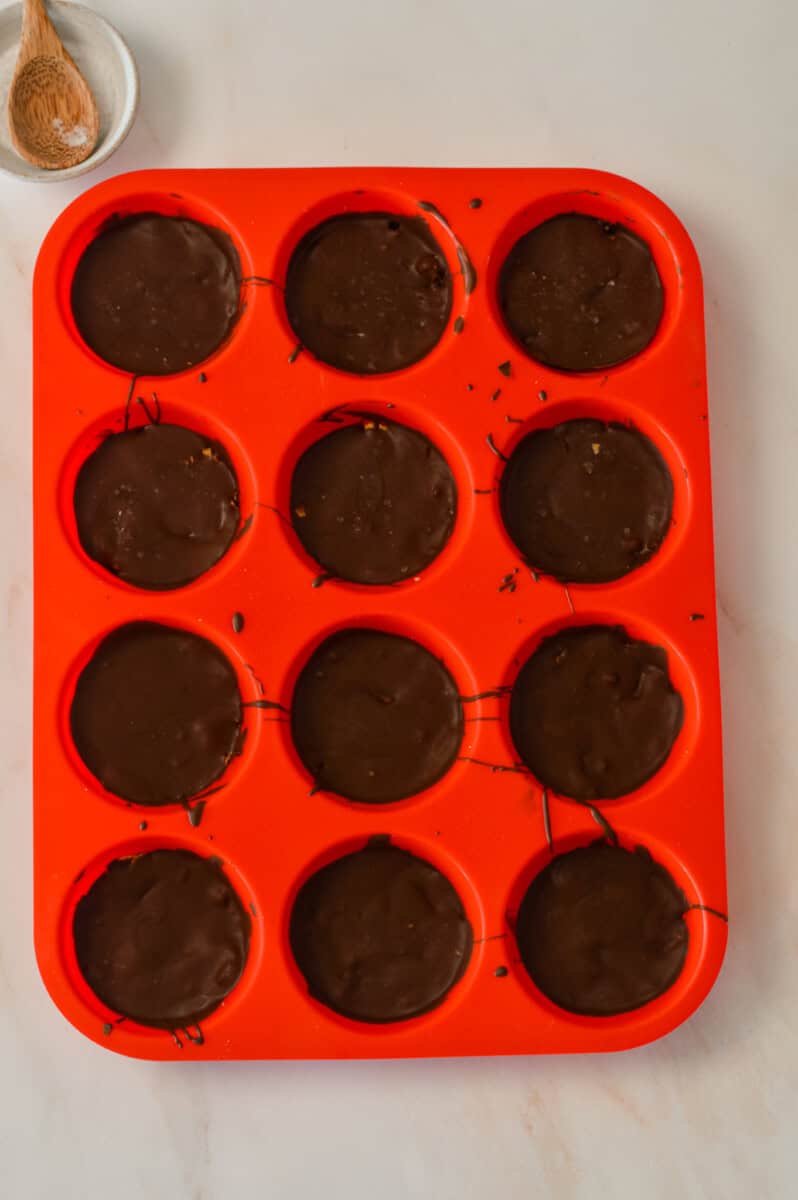
- Cover with 1 tablespoon of remaining chocolate. Place in the freezer for about 10 minutes to harden.
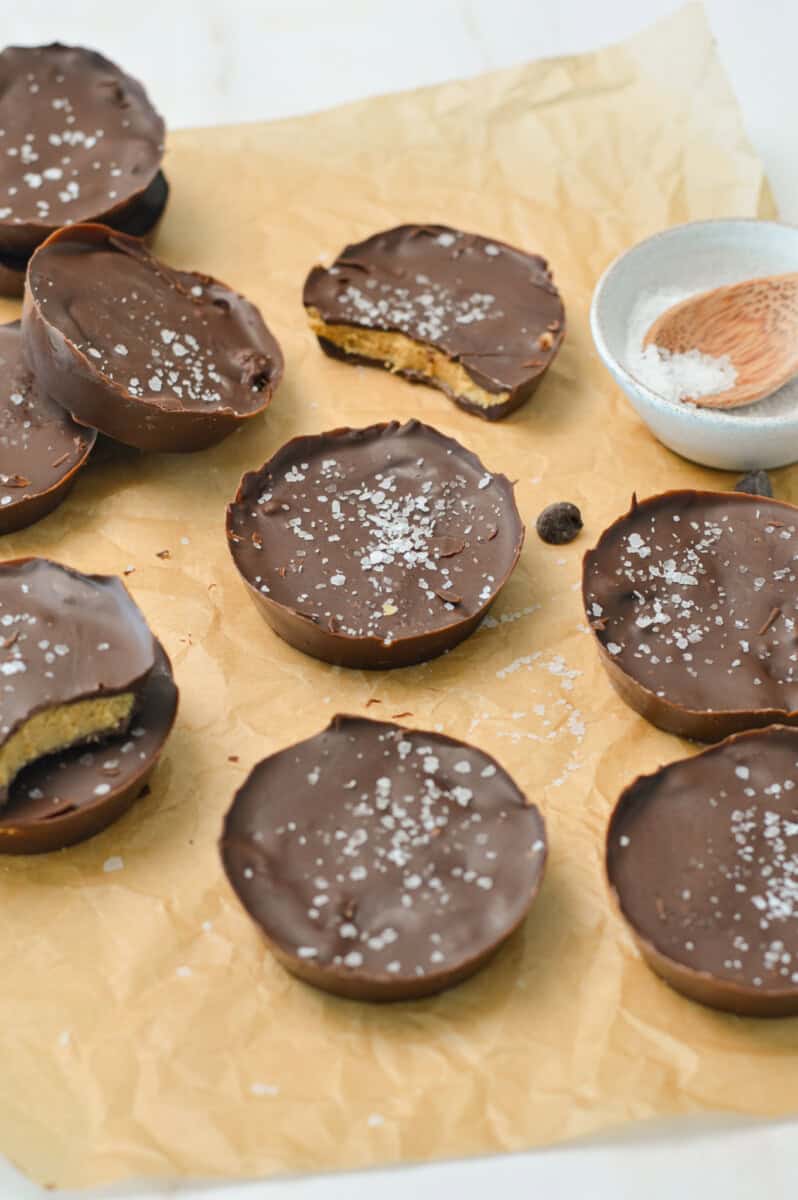
- Top with sea salt and store in the freezer!
Substitutions and Variations
To make gluten-free: This recipe is naturally gluten free!
To make vegan: Use a vegan protein powder (I love Nuzest) and a dairy free chocolate option such as Enjoy Life!
To make dairy-free: The same substitutions as the vegan option!
To make nut-free: You CAN use a nut free butter such as Healthy Crunch Super Seed Butter.
Equipment
Storage
These protein peanut butter cups should be stored in an airtight container. I recommend storing them in the freezer as the chocolate will soften slightly in the fridge! Due to the fat content of the peanut butter you should be able to grab one straight out of the freezer to enjoy!
Top Tips for Success
For an easier option, simply layer the chocolate, peanut butter and chocolate- no need to ensure the sides of the peanut butter are covered!
If you want to make mini protein peanut butter cups use a mini muffin tray or a silicone tray!
Frequently Asked Questions
No! You definitely do not!! I would recommend adding in a little oat flour or almond flour to create the same texture!
I recommend storing in the freezer for best results! The fridge will also work however they may be a little too soft!
Of course! Any nut or seed butter would work in these gluten free peanut butter cups. I personally think cashew butter would taste amazing (I'm picturing little cookie dough cups)!
The coconut oil really just helps melt the chocolate. So an equal amount of any neutral tasting oil will also work!
I personally really think the maple syrup adds to achieving the perfect amount of subtle sweetness in these peanut butter cups. However if you are trying to avoid added sugars, feel free to leave out the maple syrup! Just note they won't be quite as sweet.
More High Protein Snacks
If you love these protein peanut butter cups you need to try more of my higher protein treats!
Some of my favorites include:
- No bake protein bars
- Air fryer breakfast cookie (I love splitting this into two for two snacks!)
- Confetti energy balls
- Snickers protein balls
- Chickpea cookie dough
See you in the kitchen!
PS. I love seeing my recipes in action! If you decide to make these protein peanut butter cups, don't forget to snap a photo and tag me on Instagram- @nourishedbynic or leave a comment and rating below letting me know how you liked it!
📖 Recipe

Homemade Protein Peanut Butter Cups
Ingredients
Peanut butter base
- ½ cup natural peanut butter
- 1-2 tablespoon maple syrup depending on sweetness preference
- 1 teaspoon vanilla extract
- 1 tablespoon coconut oil melted (or additional peanut butter)
- ¼ cup (+1 tbsp) vanilla protein powder or unflavoured collagen
For the chocolate
- 2 cups chocolate chips (semi sweet or dark)
- 1 tablespoon coconut oil
- sea salt for topping
Instructions
- Line a 12-cavity muffin tin with muffin liners (I recommend silicone), or use a silicone muffin tray.
- In a large mixing bowl combine peanut butter, maple syrup, vanilla extract, coconut oil and protein powder and stir. *place in the fridge for about 5 minutes.
- Melt your chocolate by combining your chocolate chips and coconut oil in a large microwave safe bowl. Microwave on high for 30 second increments, stirring well in between. Repeat until chocolate is fully melted (should take approx. 3 repeats)
- Place 1 tablespoon of melted chocolate into each cavity of a lined muffin tin. Use a spoon to gently press chocolate onto the sides of each liner. Place muffin tin in the freezer for 10 minutes to allow the chocolate to harden.
- Once the chocolate has set, roll your peanut butter dough into 12 bite sized balls and place one ball into the center of each chocolate cup. Gently press down to flatten the dough balls and cover with 1 tablespoon of remaining chocolate. Place in the freezer for about 10 minutes to harden, top with sea salt and store in the freezer!
Michelle says
So delicious and easy to make!!
Kris says
Love how these turned out! I can’t get over the smooth texture of the filling and how tasty they are. Definitely a recipe I’ll be using time and time again!
Haley says
SO good! My husband said he even prefers these to a Reese’s. Love them!